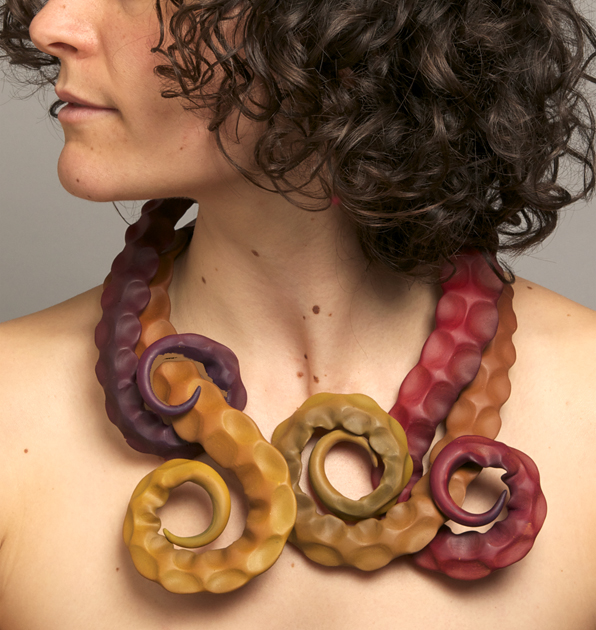
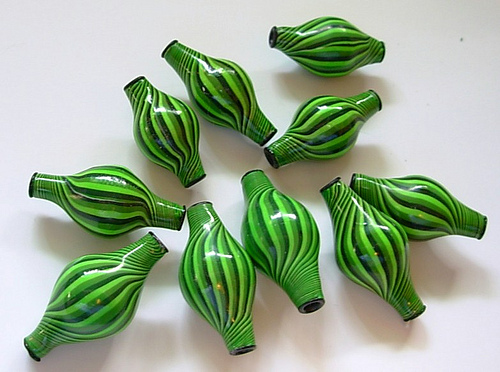
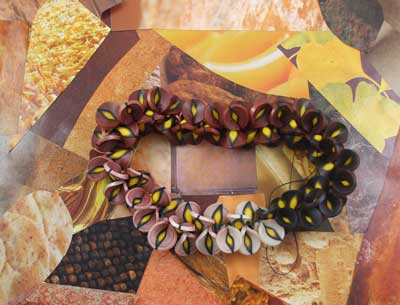
Most of my new work has names that I easily associate with the piece. For example, every time I show someone the photo on the left, they say it reminds them of octupuses so I called it “Octopi” – one of the three plural forms of octopus. The other day a friend asked about one of my […]
Smashing Color
with Maggie Maggio
My brain is still spinning from the opening of the Racine Art Museum’s Terra Nova: Polymer Art at the Crossroads exhibit and from the weekend symposium. I’ll need at least a month to process all the images, ideas, conversations, challenges and inspirations. The opening was wonderfully overwhelming. There are more than 200 pieces by 34 artists spanning the […]

Red dresses made the news last night at the Emmy’s. My husband says that they must have all called (texted?) each other to ask “What are you wearing.” I’d like to think of it as a switch from the stereotype of women wearing red as a symbol of seduction to women wearing red as a show of […]
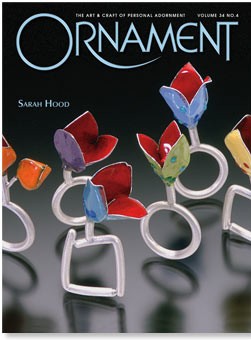
The latest issue of Ornament magazine has a wonderful article on the history of polymer clay as an artists’ medium. One of the most beautiful magazines on the stands, Ornament features articles on the art and craft of personal adornment. Most of the magazines I get are fodder for collages but I never cut into my Ornaments. Since I […]
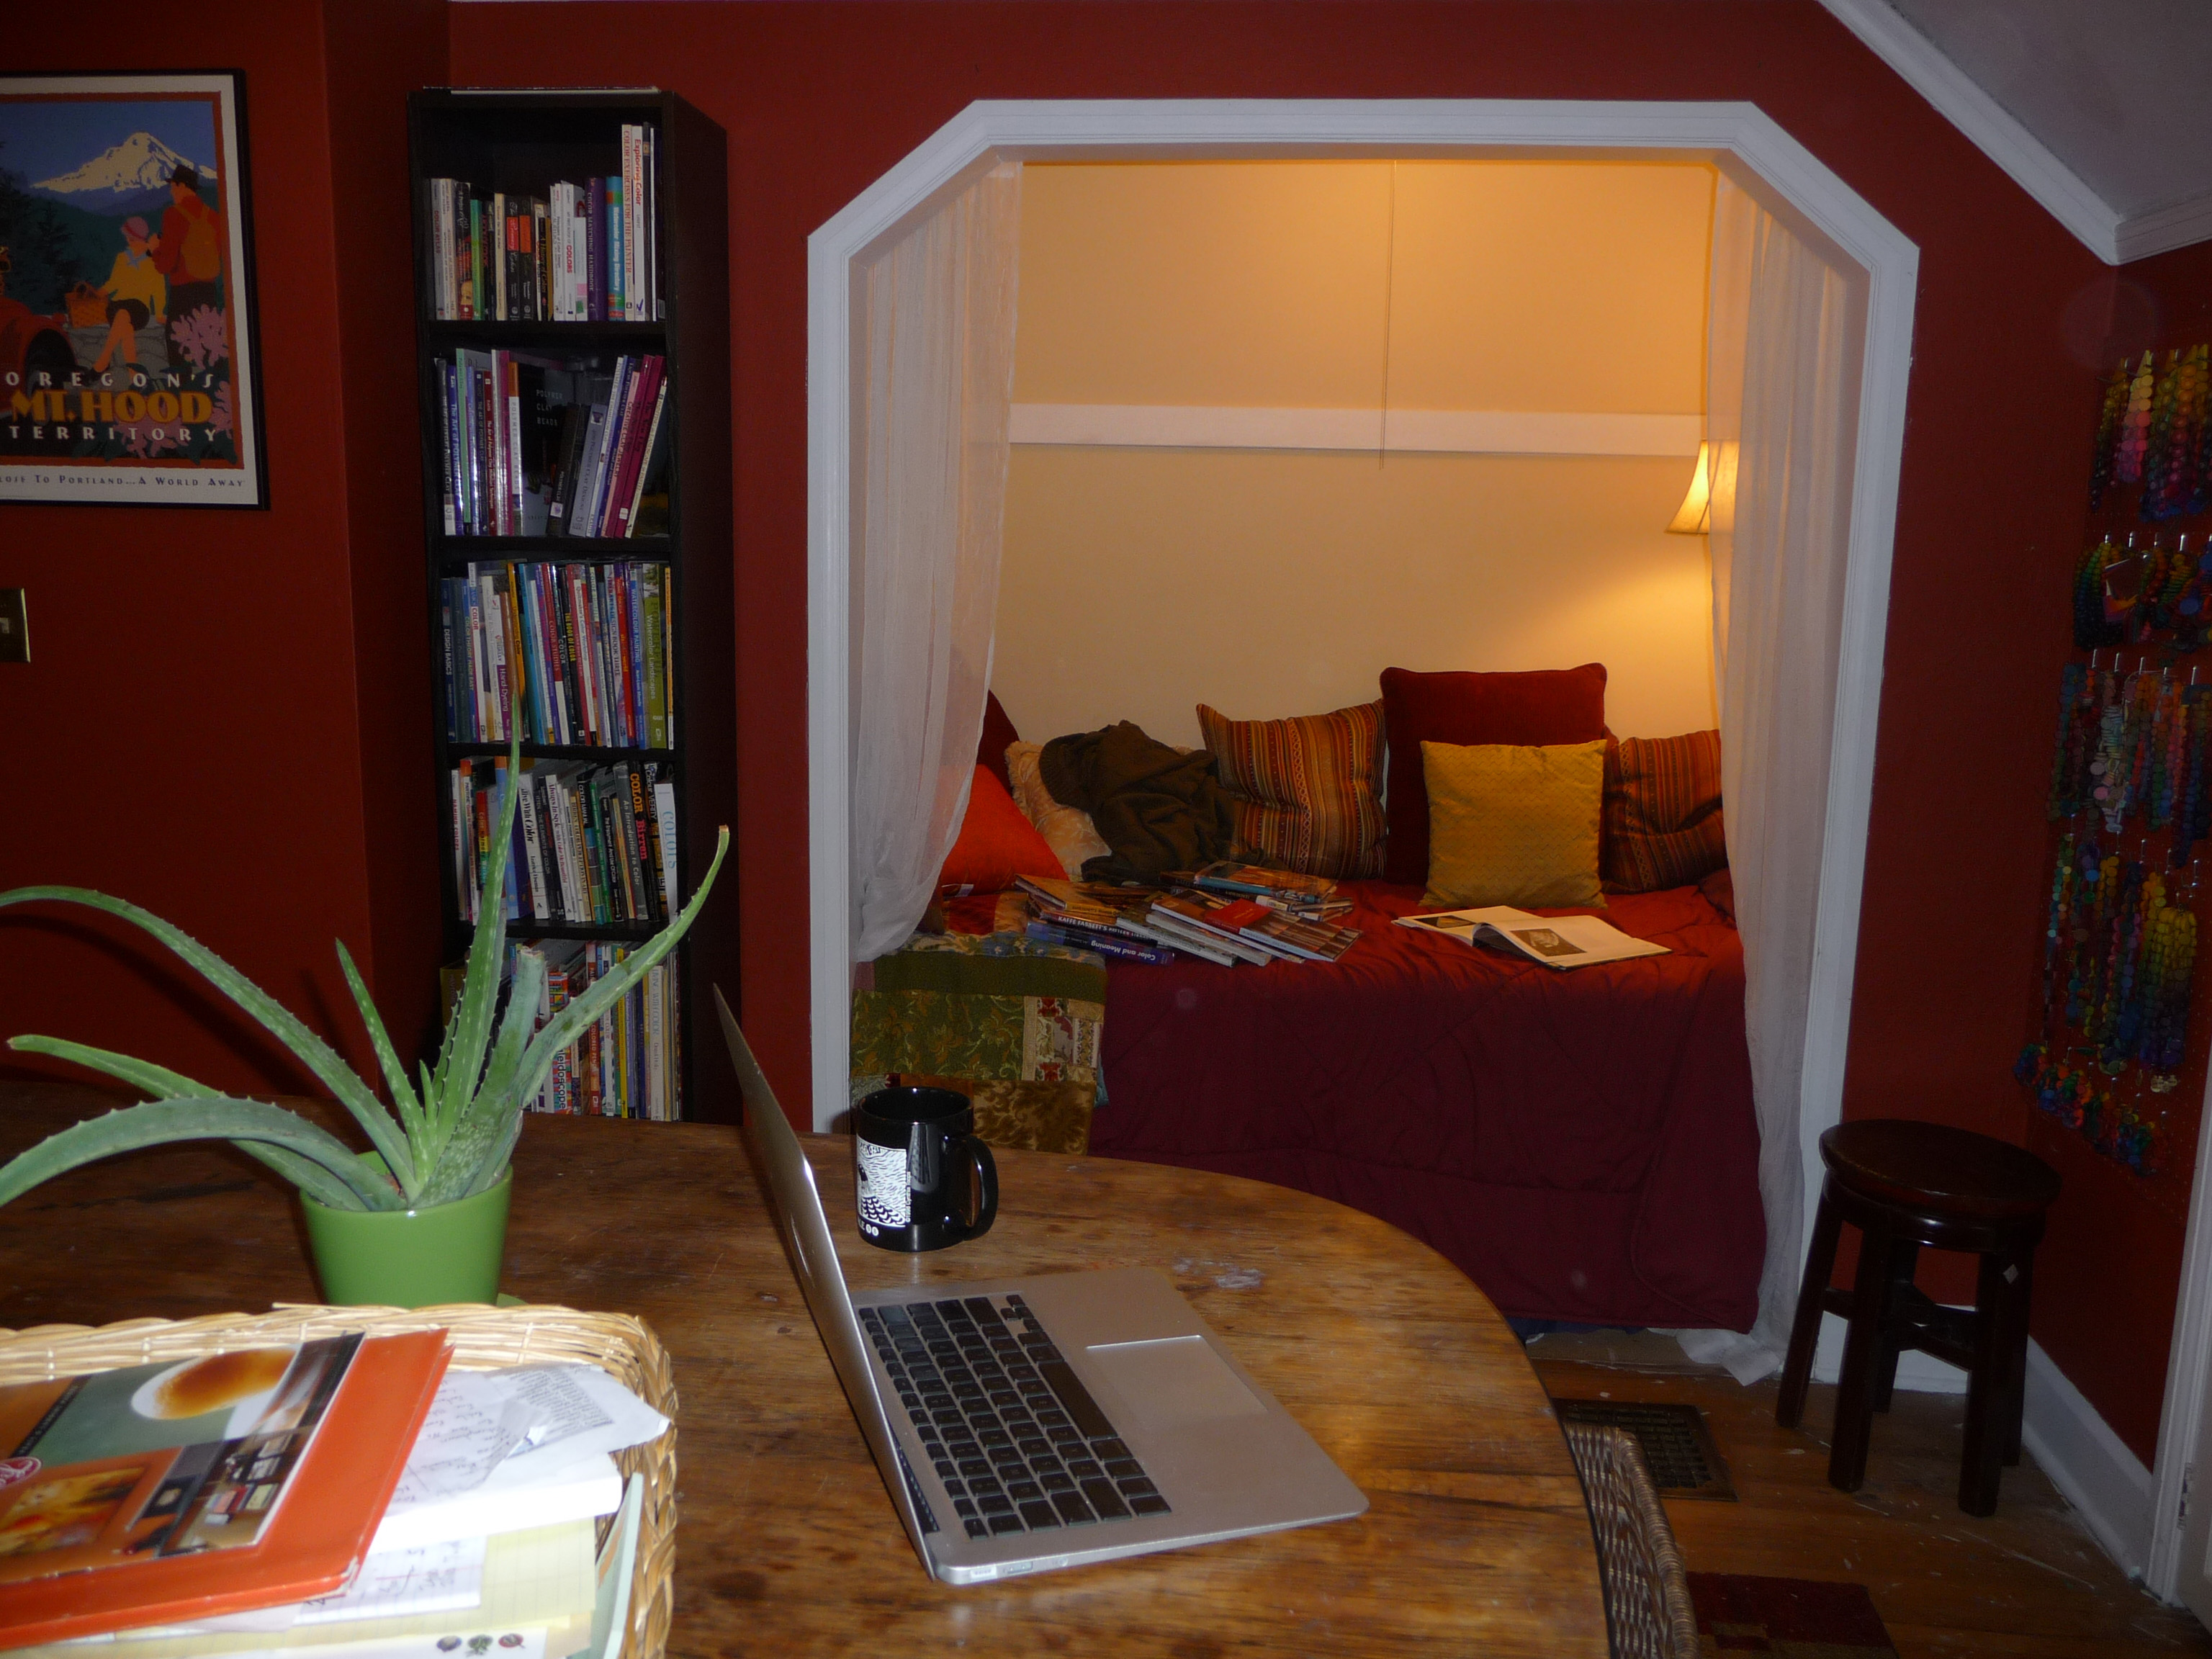
For the last 14 years, ever since we moved back to Portland, my artist studio was in the basement. There is not much in the way of natural light down there and every now and then in our rainy season the water seeps up from below. As you can imagine, I found myself spending less […]

The polymer clays that are readily available in the big box craft stores have changed since our book was published in 2009. In the past year Polyform discontinued Studio by Sculpey and some key Premo colors while adding a few new Premo colors. This caused quite a controversy. Carol Simmons has done some detailed posts about this issue. I’ve started testing the new […]

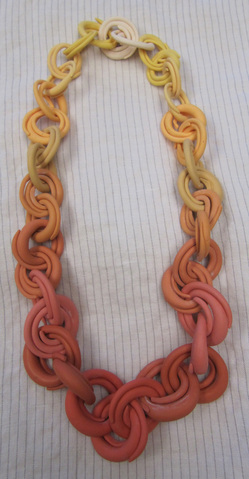
I’m back to exploring the split rings in a variety of forms. The rings on this Rose Chain started with one extra wrap and ended up with four layers of very thin clay ruffled around the large center holes. The challenge of making them lay flatter resulted in using a form to give each link a […]
The response to the split ring video has been amazing. Thank you to everyone for your wonderful comments. I am so glad you are having fun with them! A few people have mentioned that their split rings start to open while they are being worn. There could be many reasons for this. First – The […]
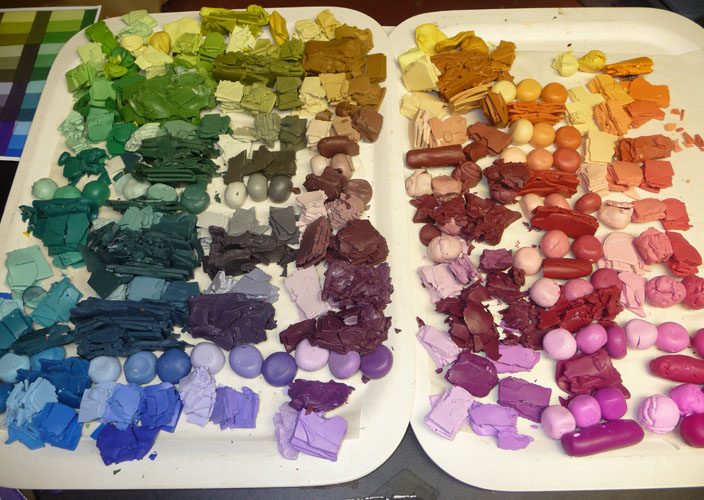
The first round of color scales I made used two primary colors, for example Red to Yellow. It didn’t take long before I started making value scales – taking a color to a white and then taking a color to a black. After awhile, I started making color scales using complementary colors to find the earth colors and neutrals in […]
Taking some time to make and document color mixes is the best way to learn how to mix colors instinctively. Playing scales on the piano trains the ear, making color mixes trains the eye. Color scales are my favorite way to record my color mixes but I encourage you to come up with your own system for keeping track […]
The Polymer Penguin’s pivot beads take the idea in a whole new direction. Zjet’s Flickr site has some gorgeous collages and shows more of her many colored pivot beads. The color coordinated caps add a beautiful finishing touch. Dora Arsenault strung multi-colored pivot beads into an eye-catching necklace. Dottie McMillan, author of Artful Ways with Polymer Clay, […]
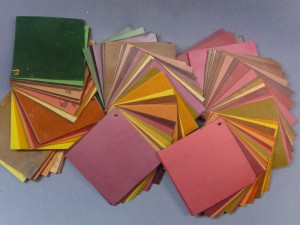
There are many ways to play with this project. Jeanette Kandray sent a photo of her necklace on the collage that inspired it. Its not a rainbow skinner blend. Instead it is more of a value study from the dark purples though the pinks with the yellows of the collage captured in the yellow used for the […]

I’ve seen some wonderful images posted online by artists who have already made the Pinched Petal Necklace project in Chapter 4. Here’s a gorgeous one from Nora Pero’s flickr site. I especially love the tomato red centers! I would like to post a sampling of Pinched Petal necklace photos on Saturday for the Weekend Extra. If you have […]
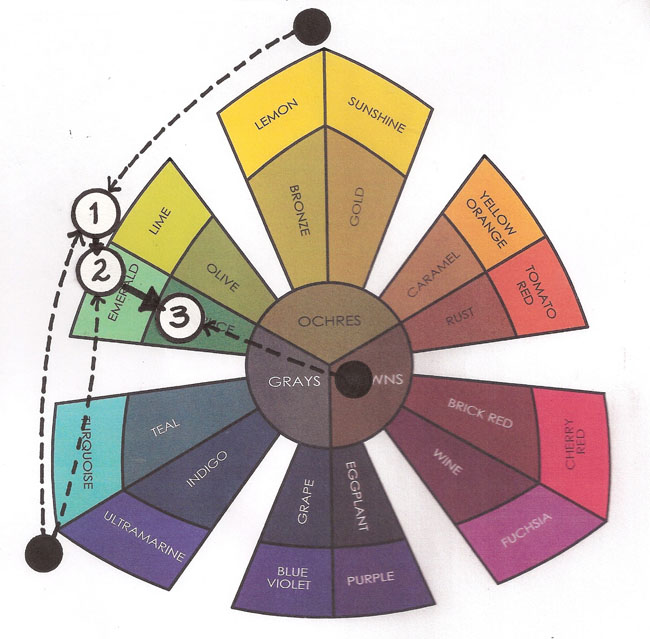
When you are instinctive mixing it helps to imagine the direction that you want to move the color. Once you know the direction, you can find the path. The “path” is the imaginary line that runs between the color you have and the color that you want. If you extend this line across the color sorter, any color along that line can be used to move the color to where […]
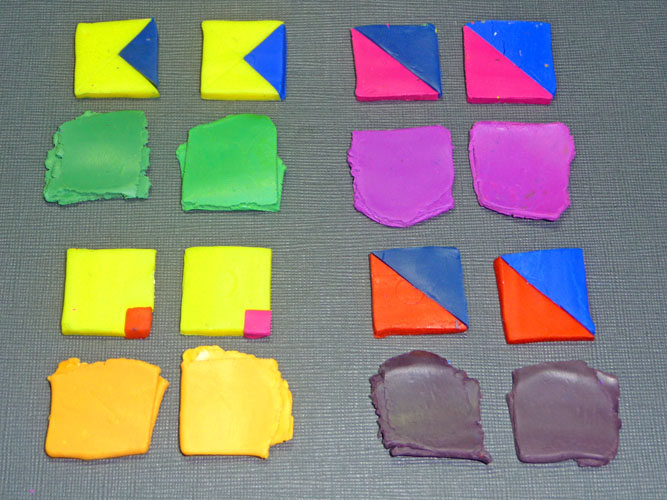
Here is the first step in making the tasting tiles using Kato Clay. I used Yellow, Blue, Turquoise, Magenta and Red. Greens: The first mixture of Yellow with Blue came out slightly muted. That is due to the Blue clay’s bias toward magenta. The Yellow with Turquoise came out very clear. Oranges: The mixtures of the Yellow/Magenta and […]
© 2026 Smashing Color