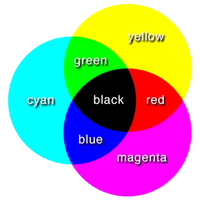
 Traditional theory says R+Y+B =Black, and Modern Theory says C+M+Y=Black. Reality is Three Primaries = MUD. I define MUD as the color you get when you mix primaries in equal amounts. Depending on which primaries you pick MUD can be many colors.
Traditional MUD
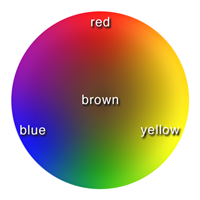
If you have been mixing colors using the traditional Red, Yellow, Blue primaries then you are familiar with the reality that MUD is in the middle. MUD in the RYB system is usually closer to a brown than a gray.
Modern MUD
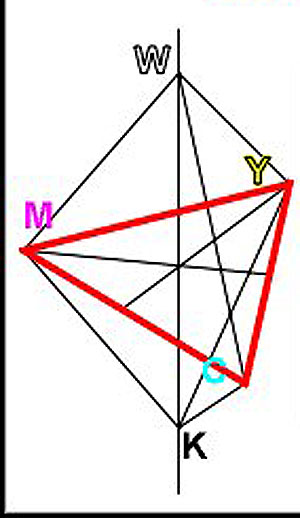
This diagram of the CMY color space shows that the mixture of C+M+Y is somewhere between black and white. MUD in the CMY system is more gray than brown.
Understanding Primaries Undertone/Bias
There are no perfect primaries. Each of the colors we think of as a primary leans a little (or a lot) toward one of the other primaries. This is called the color’s undertone or bias.
When you try to mix a secondary color from two primaries you need to know how far away your primaries are from the imaginary perfect primaries. For example, Ultramarine Blue is really Cyan with quite a bit of Magenta. Golden Yellow is Yellow with just a titch of Magenta.
If you mix Ultramarine Blue with Golden Yellow expecting a bright green you will be disappointed. The magenta in Ultramarine and the magenta in Cad Yellow will get together and steal an equal amount of cyan from the Ultramarine and also grab some yellow from the Cad Yellow.
The combined C+M+Y will make a MUD that is close to gray. That gray will mix with the green to make a gray green instead of a bright green.
To successfully mix colors, the first thing you need to know is how much Cyan, Magenta and Yellow are in each of the colors. One way to find this out is by test mixing.
Time to start mixing colors! Be sure to label as you go . . .
Smashing Color Exercise – Testing Mixing for Secondaries
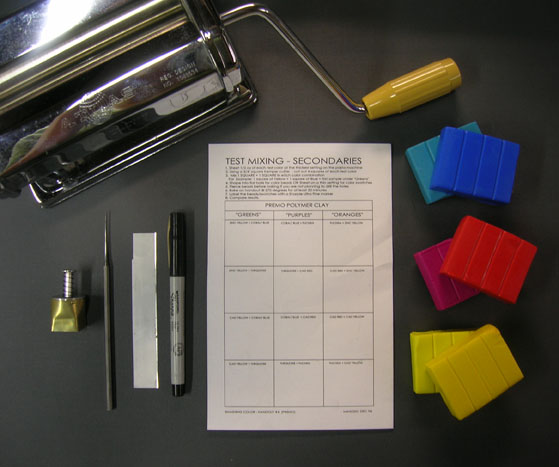
Materials List:
- Pasta Machine, 3/4″ square cutter
- Pin Tool (for making holes)
- Blade
- Extra Fine black Sharpie
- Downloaded PDF Test Mixing Handout (for Premo and Kato) or (for Fimo) and
- six colors of clay depending on what brand you use:
- Fimo Classic – Red 2, Magenta 21, Yellow 1, Golden Yellow 15, Turquoise 32, Blue 37
- Premo – Cad Red 5382, Fuchsia 5504, Cad Yellow 5572, Zinc Yellow 5072, Lt Turquoise 5505, Cobalt 5063
- Kato – Magenta, Red, Yellow, Turquoise, Ultra Blue
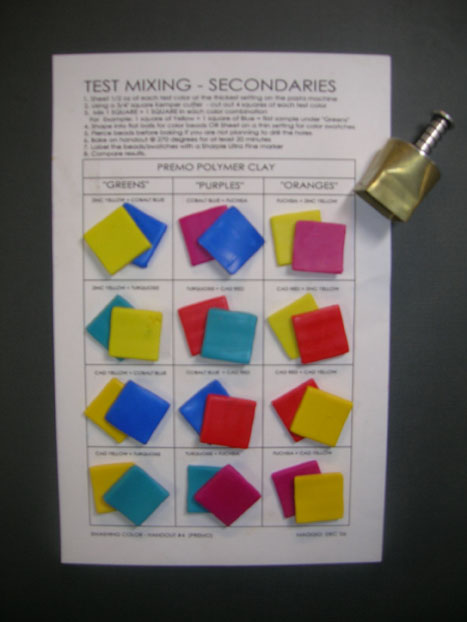 1. Sheet each of your primaries at the thickest setting of the pasta machine. Cut two squares of each color using the 3/4″ square cutter for each of the combinations on the handout .
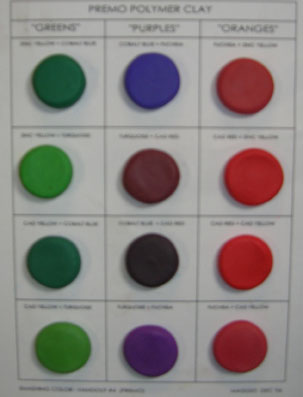
- 2. One at at time mix each of the combinations. Shape into balls. Flatten these balls into beads. Pierce holes in the beads if you don’t want to drill holes later.
- 3. Bake at 270 for 20 minutes. Remove and cool.
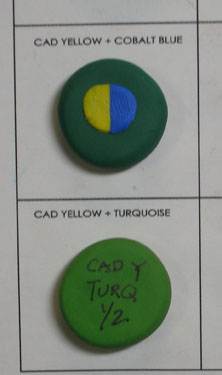
- 4. Label each mix with a Sharpie marker. If you want to spend more time you can label them with what Lindly calls “pie charts”. Just cut small circles from thin sheets of the primaries and use them to make 1/2 and 1/2 labels for each bead.
- Optional: Add white to the middle by following the instructions in the book.
- Which colors have the most MUD? Which the least? Can you figure out why?

March 15, 2008 at 11:01 pm
I can’t thank you enough for your Smashing Color tutorials and blog pages. Premo became too difficult to handle, so I tried Kato Clay and followed all Smashing color triangle exercises.
Kato Clay has different undertones than Premo.